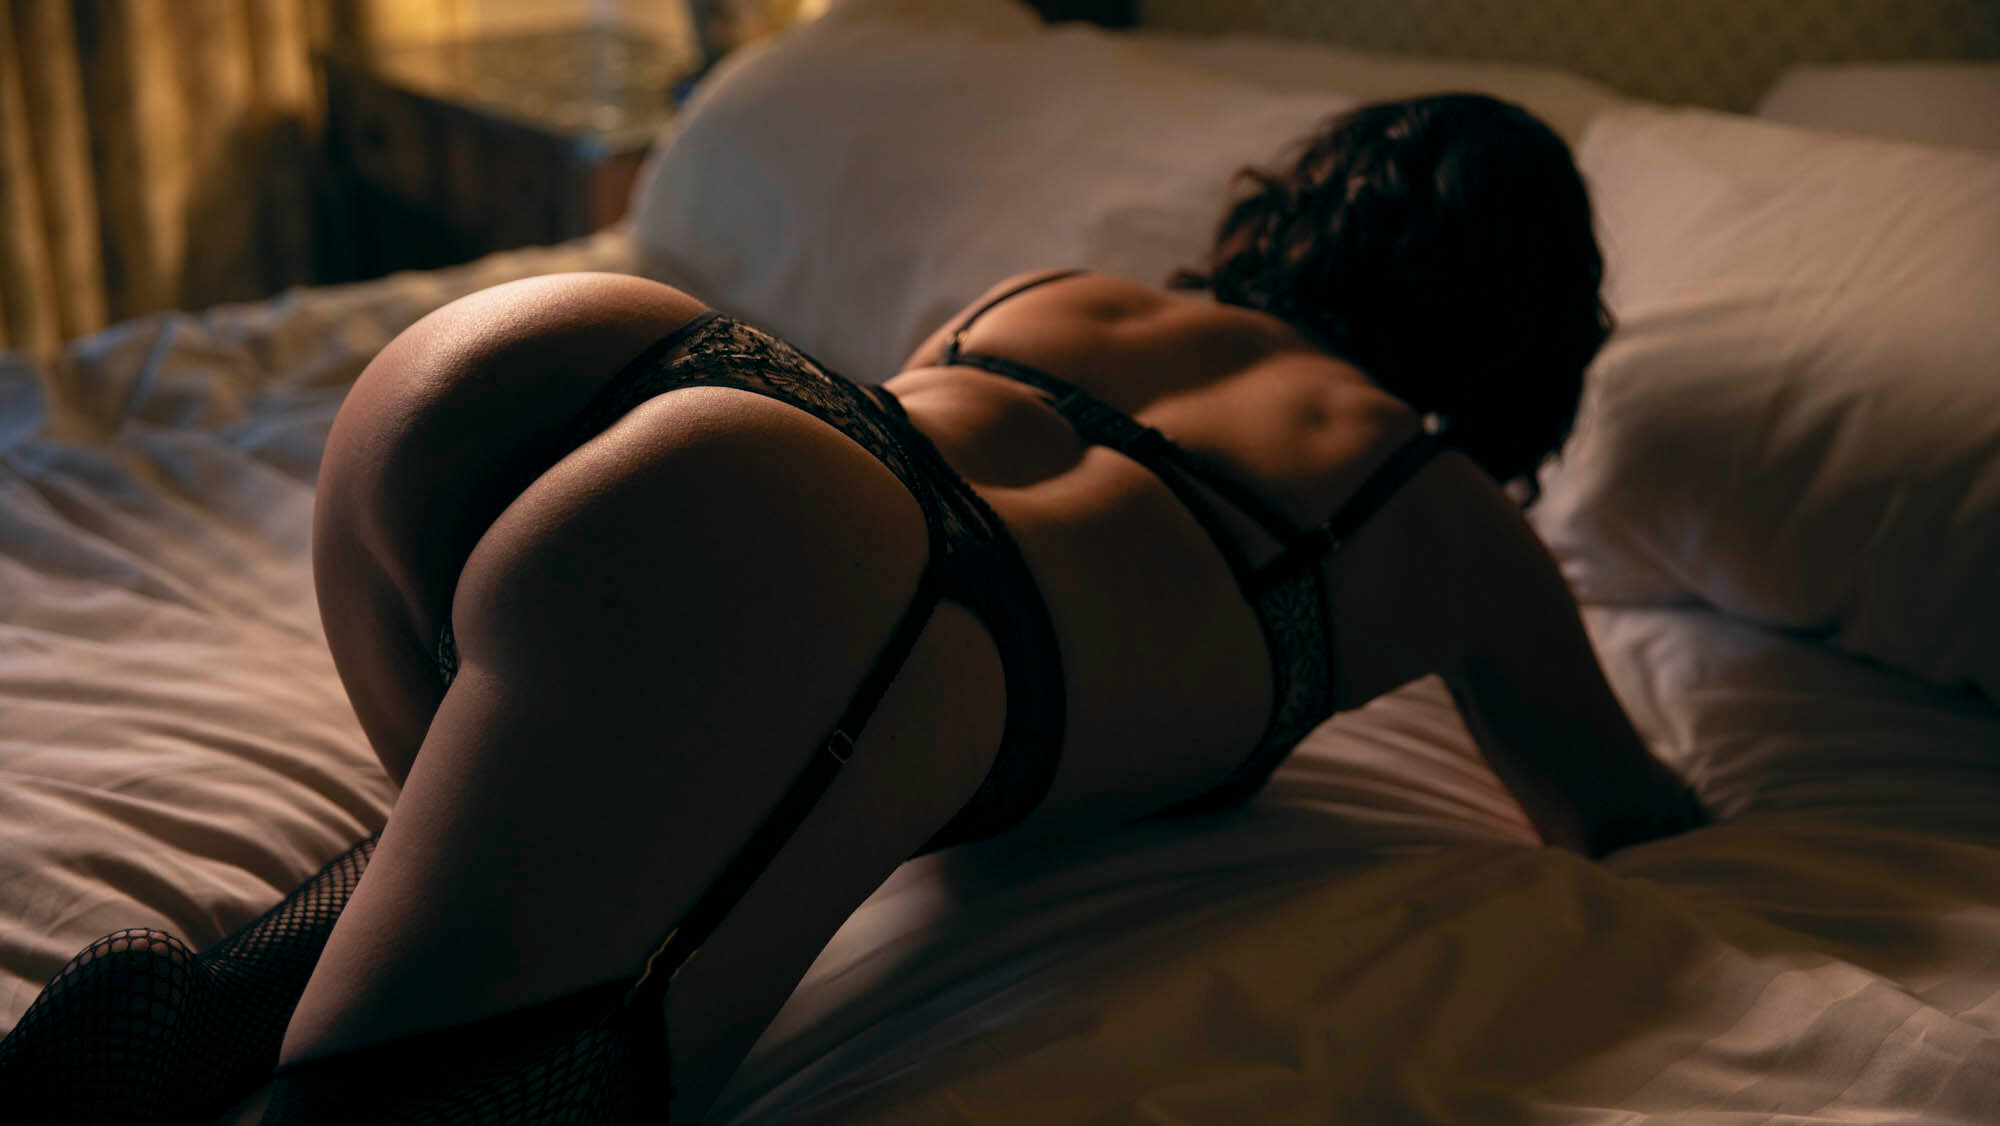
Boudoir Photo Shoot Tips For Better Photos
While there's no singular preparation step that guarantees a perfect photo shoot, the magic lies in the details. My top boudoir photoshoot tips emphasize the significance of many small actions leading to a remarkable outcome.
If the idea seems daunting, take a deep breath. I've curated a list detailing the essential considerations and their ideal timing leading up to your boudoir session. This is designed to ensure that you’ll show up fully prepared to your session.
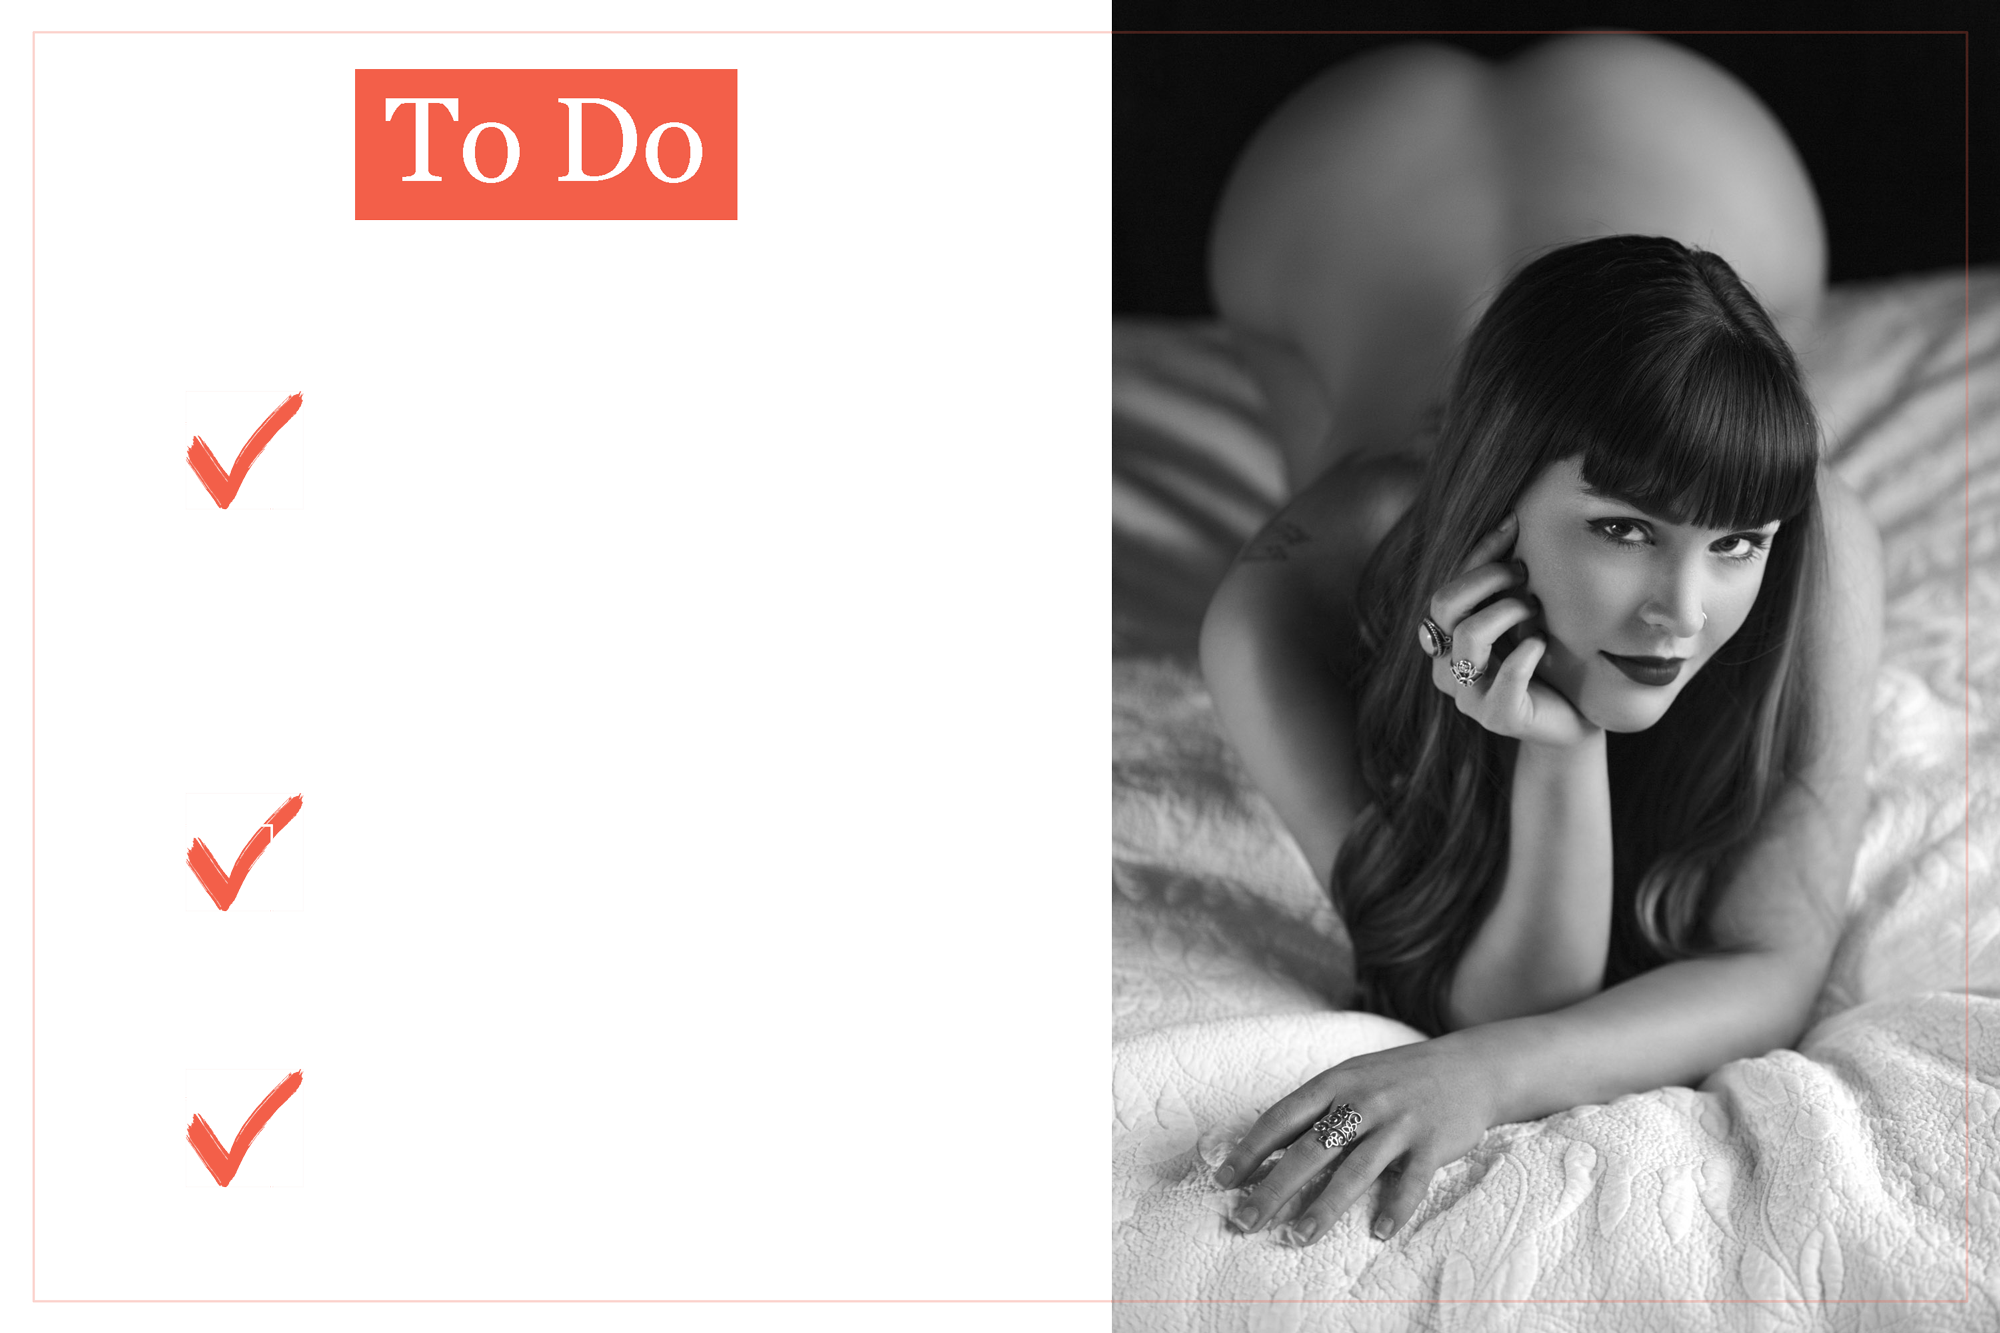
If this sounds complicated, worry not! I’ve got you covered with this list of things to consider, and when you should do them leading up to your boudoir session to help you get the best photos possible from your photoshoot.
Following these recommendations will make it impossible for you to forget anything so you can show up to your session relaxed knowing you prepared to the fullest possible extent.
BEFORE YOUR SESSION YOU SHOULD CONSIDER:
Every point mentioned in this post is completely optional and up to your personal preference. For instance, if you prefer not to shave your intimate areas, that's completely okay! The primary goal of this post is to help you achieve a look that closely matches your in-camera ideal.
By improving your appearance before your photoshoot, you’ll help give me the best starting point so that I can deliver boudoir photos to you that are consistent with what I show in my client gallery.
Plan Ahead!
Laziness or ambivalence in your planning with the expectation that the above points will be corrected in photoshop should be avoided at all costs!
Not planning can seriously compromise the quality of your final images. Take my word for it and spend the extra time and effort here. Your attention to these areas will pay huge dividends in helping me create the highest quality final images for you.
Hair Removal

Shaving or waxing your body is optional and totally up to you. These tips will help you do it better if you’re currently having trouble with skin irritation or have never waxed before.
Keep in mind that we are trying to get everything as close to perfect in camera as we possibly can. So if you don’t want hair somewhere you should remove it using your favorite method.
The following are some really helpful tips I wish someone had shared with me back when I was figuring all this stuff out for myself.
Waxing
If you decide you want to wax, there’s a couple things you should know if you’ve never done it before. First, for best results you’ll need to let your hair grow out for 2-3 weeks before your waxing appointment.
This will allow the wax strip to better grab each hair and will lead to a more thorough, cleaner result. With this in mind, make sure and budget enough time for hair growth and healing before your photoshoot.
Timing Tip: The ideal time to get waxed is 3-5 days before your session. This allows redness and irritation to subside before your photoshoot.

Additionally, if you’ve never waxed before, I’d strongly encourage you to test it out a few weeks before your session. This gives you time to see how your skin reacts. If all goes well, you can consider another session right before your photoshoot. If not, you'll have ample time to heal. Remember, some areas of your body might be more sensitive to waxing, especially if it's your first time. Adverse reactions can occur, often resembling pimple-like blemishes.
The key takeaway? There's often a learning curve with waxing. Learn what works for your skin well in advance of your session. Additionally, take the time to find a skilled esthetician and follow their after-care recommendations closely. Tweak your process based on what you find most effective.
Please remember, waxing shouldn't be a last-minute decision, especially if it's new to you. Approach it with care and forethought.
Shaving
All of you reading this probably have your own routine for shaving that your’re already comfortable with. That said I still see too many women come in for their photo shoots with irritation, especially around sensitive areas like the bikini line and arm pits.
If you’re having a problem with irritation or ingrown hairs, the following points are all essential in my experience. If you want to eliminate ingrown hairs and razor burn you should:
Exfoliate / cleanse the skin before shaving.
Use the best razor your can. You can purchase high quality blades for safety razors like this for instance.
Soften your hair, via a warm shower or bath for at least 10 minutes prior to shaving.
Use liberal amounts of shaving cream, soap or whatever lubricant you prefer.
Pay attention to your shaving direction. Against the grain is bad, with and perpendicular will be less irritating to your skin.
Moisturize after.
If you follow these tips, you should be able to shave the night before and be camera ready the following morning. If your skin isn’t healed completely in that time frame, recheck your routine with the above tips and that should greatly improve your results.
Tan Lines
Traditional Tanning
Navigating the world of traditional tanning before a photoshoot can be tricky. While I personally don't have a preference regarding tan lines, I recognize that many individuals prefer a more even skin tone in their photos.
Yes, tan lines can be fixed in Photoshop, but this isn't always ideal. Editing them out can sometimes lead to additional retouching fees, depending on their prominence. More importantly, this method might compromise the quality of the final image. It's always preferable to get things right in-camera.
Evening out your tan before your photoshoot can save on costs and yield better-quality images. If you're considering this route, consult with your preferred tanning salon. They can guide you on the duration required to rectify the tan lines. Ideally, wrap up any tanning sessions two weeks before your photoshoot, giving your skin ample time to recover.
Post-tanning, skin often requires healing, especially after intense UV exposure. This downtime not only reduces skin dryness but also improves texture, resulting in less intensive editing and superior final photos.
However, a side note on tanning: While it might offer even skin tones, frequent tanning can accelerate skin aging. If you're keen on avoiding tan lines, spray tanning is an alternative that's gentler on the skin.
Spray Tans
Make sure and have your spray tan done by a person and not one of those car wash machine things. Also note that not all spray tan techs are created equal. Therefore I highly recommend you find someone that’s GREAT at what they do!
Spray tans can look really fantastic, or they can make you ugly cry in the bathroom after you see yourself. Find a tech you really like for this and if you’ve never used a person before, it’s always smart to try them out at least 2 weeks before your photo shoot to make sure you like their work.
Hair Cut & Color / Eyebrows
It’s a really smart idea to plan your session close to your hair cut and color appointment to take full advantage while everything is on point! The ideal time to get your hair cut and colored and your eyebrows shaped is 3-5 days before your session. This timing will give your eyebrows time to heal and allow time for hair dye to fade from your scalp.
Resist the temptation to make drastic changes to your hair style right before your photoshoot. This can leave you devastated after all the planning and anticipation if you don’t love your new look. Go with what you know works, and experiment with the crazy new style sometime after your photoshoot.
Nails
The ideal time to do your nails is as close to your photo shoot as possible. 1-2 days before your session is a good rule of thumb. Scheduling your nail appointment super close to your session date will greatly minimize the chance that you’ll break or chip them before I have the chance to photograph you.
As for those drug store stick on nail things, leave those at home. They can look okay from way over there, but are pretty cringeworthy in close ups. If you want fancy nails, do it right and have them done by your local nail rock star of choice or invest the time to do a nice job yourself.
Take my word for it and don’t cut this corner. I’d much rather you come to your photo shoot with your nails left natural, than photograph you with a shoddy work around.
Lash Extensions
Lash extensions are the best option to consider if you want the fullest, most natural looking lashes. Individual extensions are glued to each of your existing lashes with this method.
These extensions are a HUGE upgrade for your close ups over strip lashes (mentioned below) and will look much more natural. That said lash extensions will make little if any difference for pull back shots such as full and half body portraits.
If you’d like to upgrade to lash extensions, I’d recommend you make your appointment 1-3 days before your photo shoot and only with someone you have previous experience with. Always resist the fashionable urge to get extensions that are too thick as this will compromise your final photos.
Strip Lashes
If lash extensions aren't your preference, another option is strip lashes. My makeup artist (MUA) can expertly apply these over your natural lashes, enhancing the depth and volume of your eyes. They're especially striking in full and half body portraits.
That said, it's worth noting that strip lashes may not appear as seamless as extensions in close-up shots.
Both extensions and strip lashes can significantly enhance your eyes if you have shorter or thinner lashes. On the other hand, if you're blessed with naturally voluminous lashes, my advice is to skip the false lashes all together and just let my MUA enhance them with a bit of mascara at your makeover.
Teeth Whitening
Teeth whitening is one of those easy things you can do with a pretty big upside if you’re self conscious about your smile. Now, although teeth whitening is part of my overall editing process, the benefits of a more brilliant smile is typically most useful as a psychological boost.
If you’re self conscious of your teeth you will be more reluctant to smile, and potentially have more closed off or shy body language.
It’s easier to just take care of this before your photo shoot rather than having to overcome nervous body language because of something you’re insecure about.
Make Thoughtful Choices
It's essential to protect yourself from the sun and avoid physical activities that might cause harm or injury right before your session. While these cautions might seem evident, please refrain from:
Attending your photo shoot sunburned from a recent outing.
Engaging in strenuous physical activities in the days leading up to your session.
Partying excessively the night prior to your session.
I've seen clients face challenges due to such decisions, impacting their final images. Prioritize your session by planning and adhering to the guidelines shared in this post for optimal results.
Accidents happen. If you get a bruise or minor injury before the session, inform me. We can evaluate the situation and decide if we need to reschedule. Typically, I'm more than willing to retouch minor imperfections without any additional charges. However, please be diligent in avoiding preventable situations, like prolonged sun exposure without protection. Your preparation and care will undoubtedly lead to beautiful imagery.