Boudoir Camera Settings
This post shows the technical side of how I like to capture your boudoir photos. The look of each image depends heavily on the boudoir camera settings I choose.
I shoot in full manual mode and use specific settings to create moody, yet tasteful boudoir images. If you’re wondering what’s happening behind the lens while you pose, here’s a breakdown of the exact settings I use and why.
Aperture
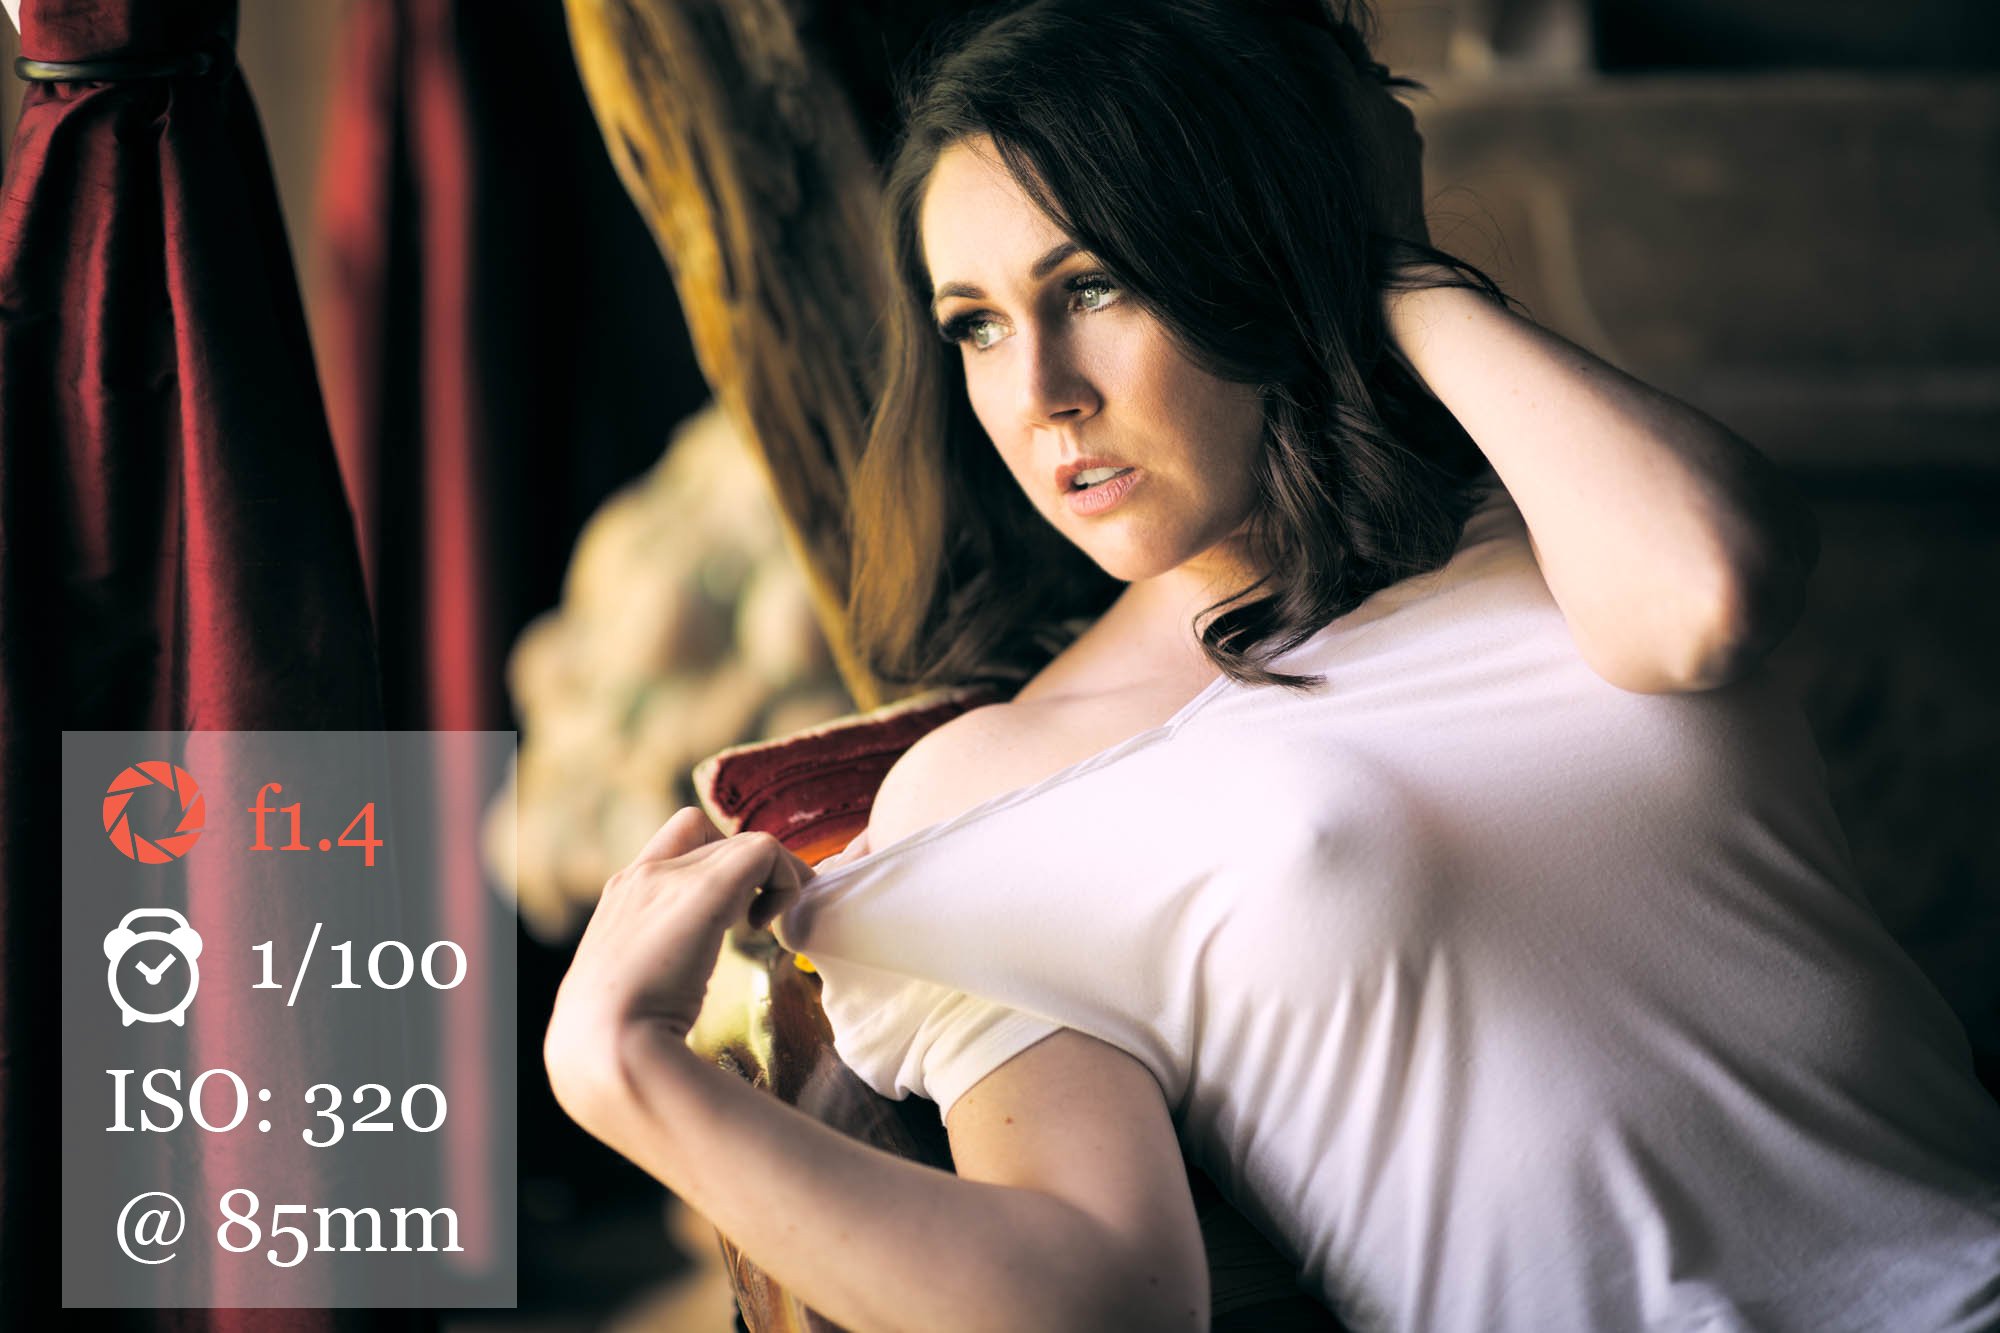
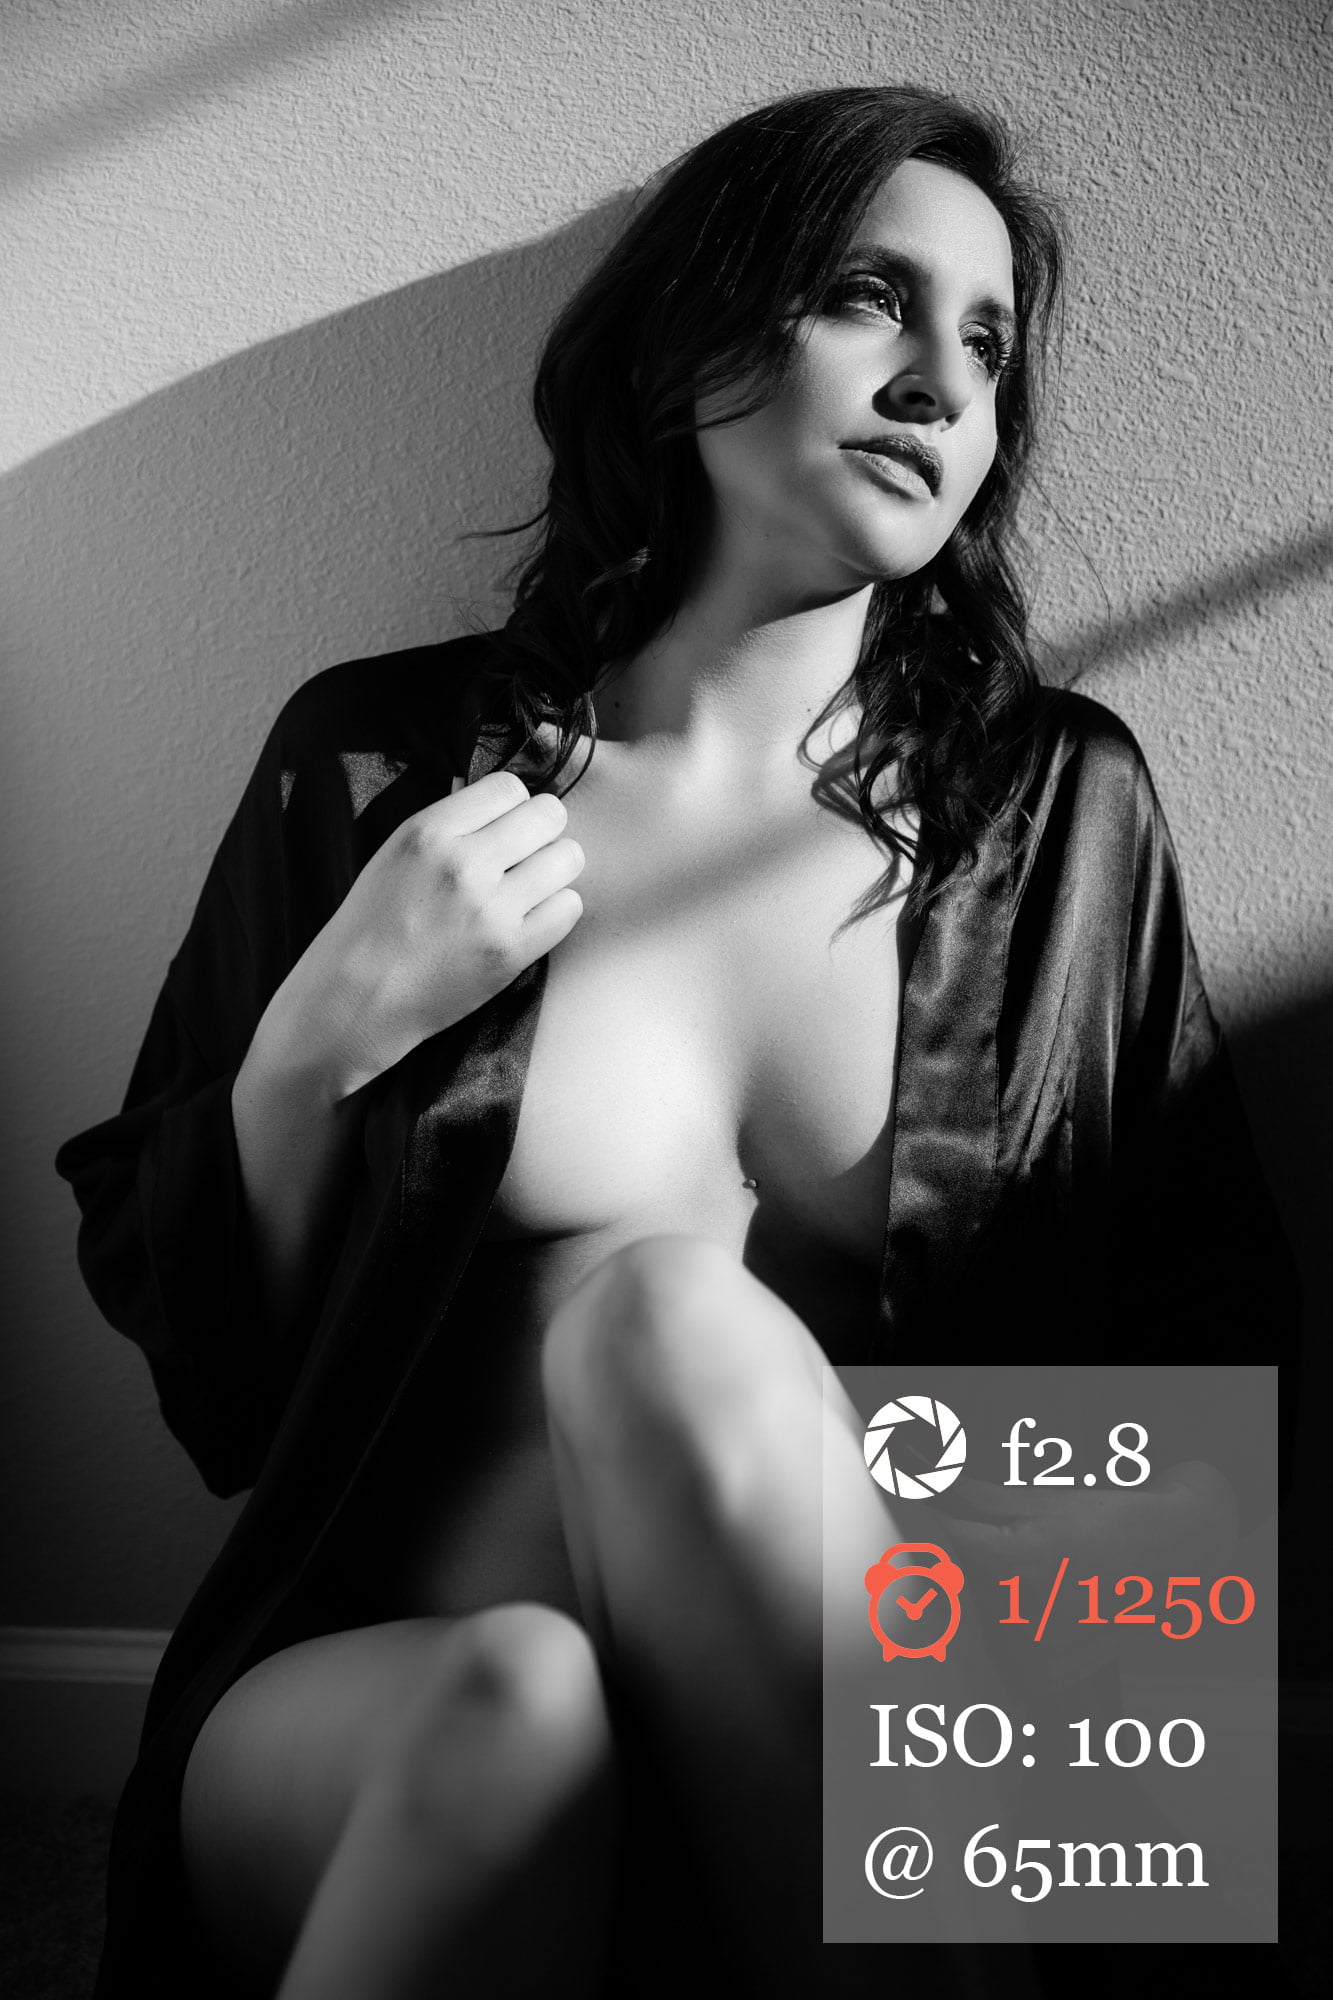
One of the first things I set is the aperture, and I usually shoot as wide open as possible—f/1.4, f/2.8, etc., depending on the lens.
A wide aperture gives you that soft, blurred background while keeping the focus sharp on the most important areas, like your eyes or lips. It also allows more light in, so I can keep your ISO low and your skin tones clean.
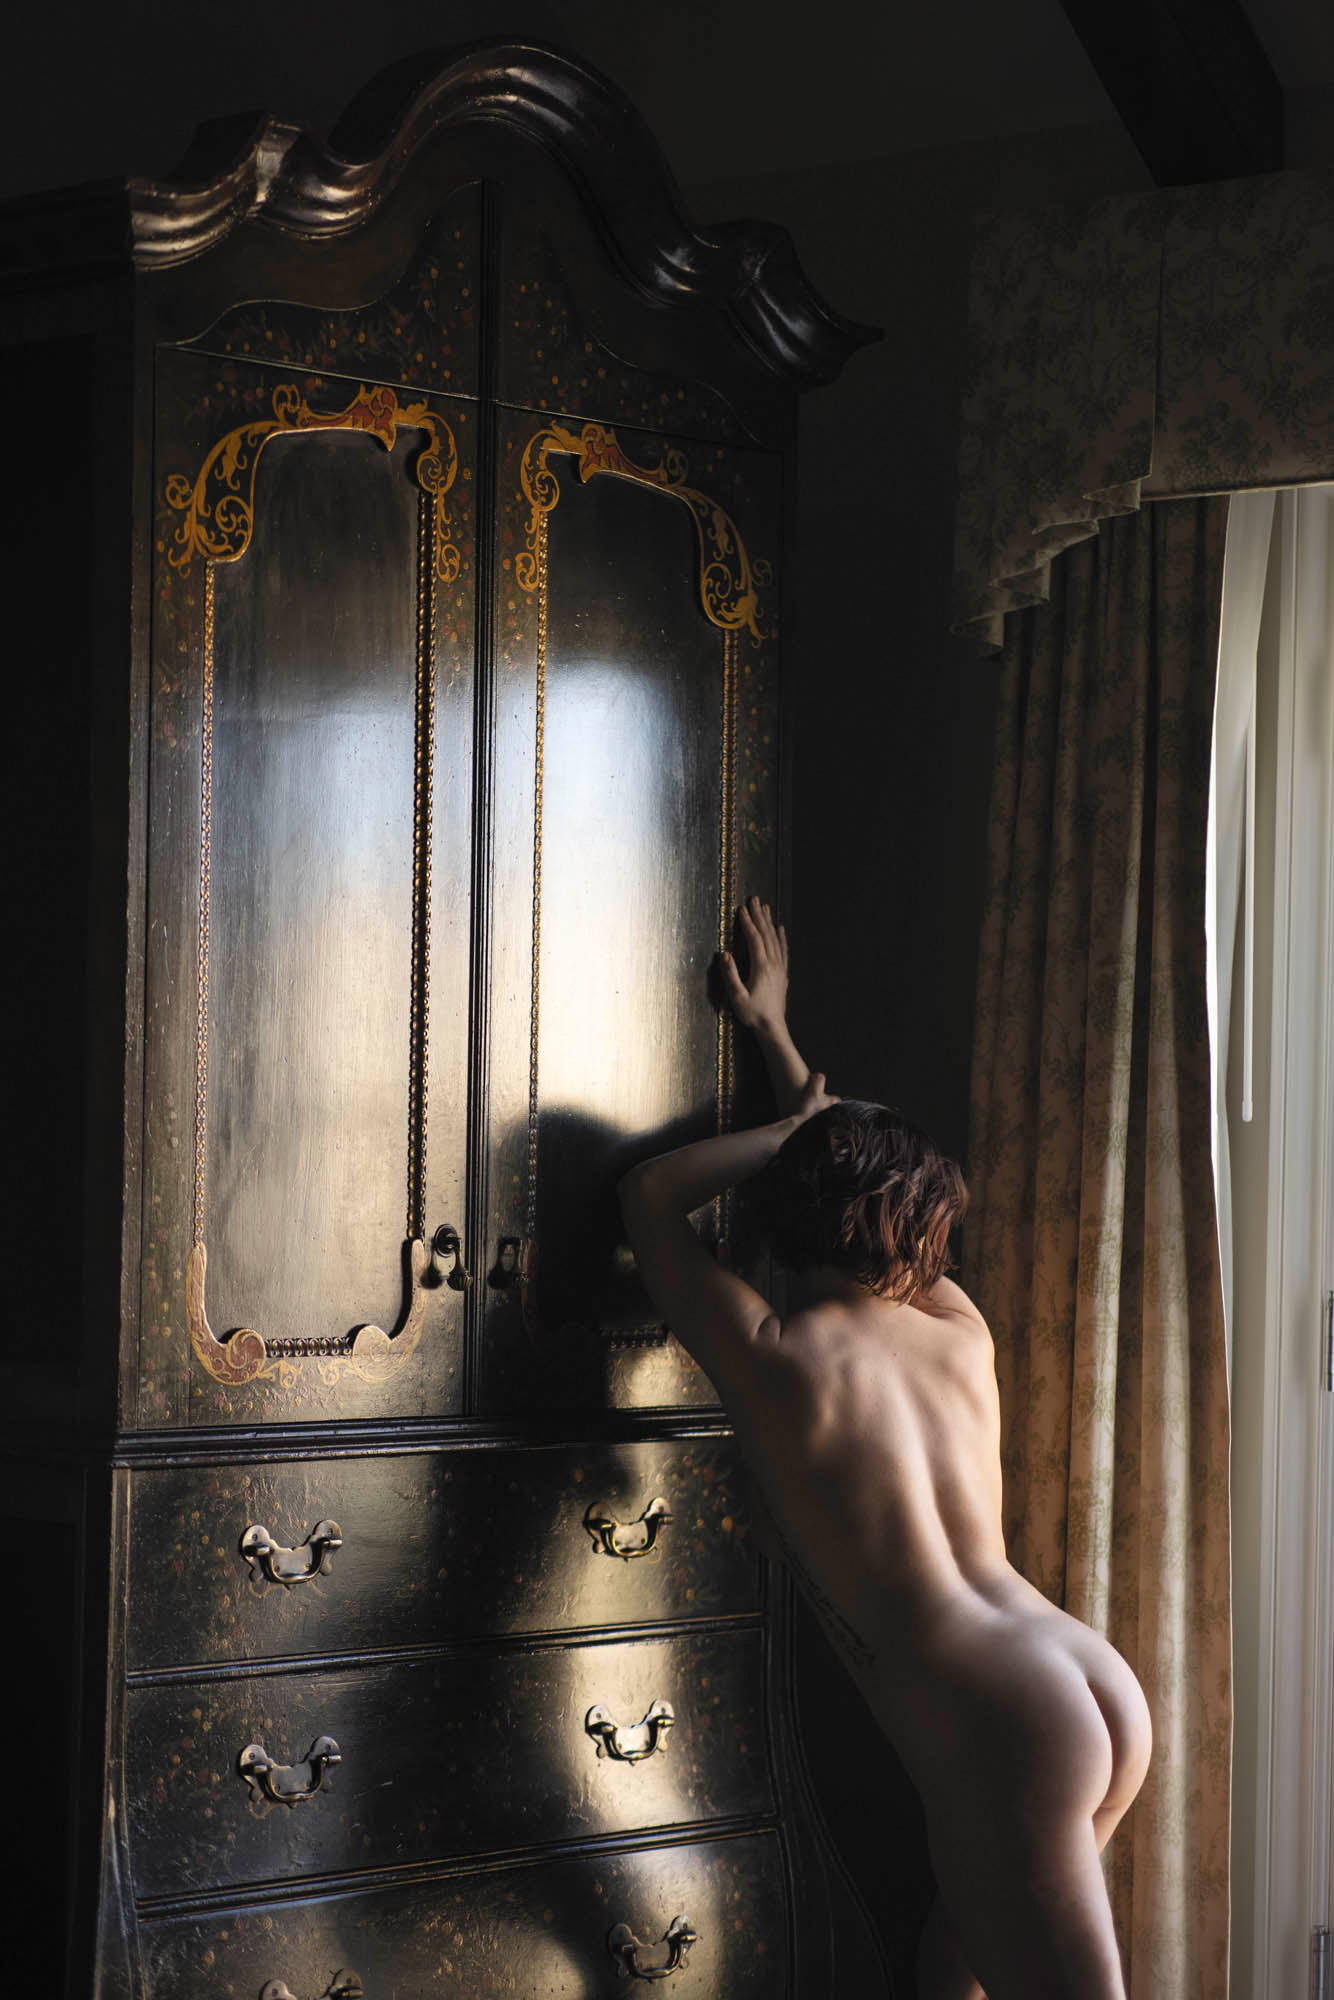
There are times when I’ll stop down for more depth of field, like if I want the background in focus for context. But in most boudoir sessions, shallow depth looks best.
Shutter Speed
Once I’ve set the aperture, I balance exposure using ISO and shutter speed.
Most of my boudoir photos are shot between 1/125 and 1/160 of a second, especially if I’m using flash due to sync speed. This combination gives me sharp detail without motion blur, even if you shift slightly between poses.
That said, I shoot with the Canon R5, and some of my images, especially those using ambient light like candles or lamps, are captured as slow as 1/3 second.
In those cases, I’m intentionally dragging the shutter to preserve the warmth of the room without blowing out the skin tones. It’s a technique I use when I want the lighting to feel more intimate and natural.
On the other end of the spectrum, I’ll sometimes shoot with extremely fast shutter speeds—1/2000 and up, when photographing women in direct sunlight.
This combination gives a crisp, high-contrast look that works beautifully for bold, full-sun sessions.
ISO
People obsess over ISO. They shouldn’t. Low ISO equals better quality, sure, but sometimes I want the ISO higher.
If I’m shooting with firelight or a single lamp, I’ll push ISO to 2000, 4000, even higher if needed.
My base ISO is 100, and I’ll stick to it when possible. But I won’t sacrifice exposure just to keep it artificially low.
It’s better to have a properly exposed high-ISO image than a noisy, underexposed low-ISO one.

Most of your shoot will fall under ISO 100–2000 depending on the light. I raise it when I need to expose for:
- Table lamps
- Fireplaces
- Candles
- Window light on overcast days
Fast prime lenses (f/1.4 or faster) help a lot here. They let me work with low light and keep the ISO cleaner than a kit zoom could.
Autofocus Settings
Focus mode depends on the shot. On DSLRs, I used single-point autofocus and recompose. On my mirrorless Canon R5, I bounce between Eye AF and single-point depending on where I want focus.
Eye AF is great when your eyes are open and facing the camera. If you’re glancing down, blinking, or turned just enough, Eye AF can miss, so I fall back on spot AF when needed.
My Eye AF Settings (Canon R5):
These are the settings I use if the camera has a good front on view of my subject’s eyes.
- Eye Detection: Enabled
- Continuous AF: Disabled
- Back-button focus
- AF Operation: Servo
- AF Method: Eye AF
- Subject to Detect: People

Other Camera Settings For Boudoir Photography
These settings don’t really affect the look of your photos so much, but if you’ve made it this far you probably would like to know the camera settings for boudoir photography that I use. So the following is what I consider to be the best camera settings for boudoir photos.
Exposure Simulation
When I’m working with natural light, I keep exposure simulation turned on so I can see the scene exactly as it’ll be captured—right through the viewfinder. It helps me dial in the lighting before I ever take a test shot. If I’m lighting the entire scene with off-camera flash, I turn it off. Otherwise, the viewfinder goes completely dark, which isn’t helpful when I need to frame your pose precisely.
Highlight Alert
This setting shows me if I’ve blown out any part of the image—like a window or a highlight on your skin. I leave it on at all times. Sometimes I’ll intentionally let a background light overexpose, but I want to know exactly where that’s happening. Highlight alert gives me that feedback instantly, so I’m not guessing.
RAW Format + Dual Card Backup
Every image is captured in the largest RAW format possible, which preserves the full detail, color depth, and dynamic range of your photos. It also gives me full control in post, in case I need to fine-tune anything. I record to two cards simultaneously, one primary and one backup. If a card ever fails, the photos are still safe on the backup.
Why Boudoir Camera Settings Matter
Settings matter because quality matters. While it’s true that modern digital files are quite information dense, nailing the exposure in camera always leads to the best quality.
Without knowing how to manually set your aperture, shutter speed and iso it will be very difficult to make a good boudoir photo.
Without the right settings, even the best posing means very little. For instance, if the exposure is 3 stops over exposed and washing out her skin tone, none of the other great stuff you did matters.
So, while posing and lighting are crucial, the technical aspects, like aperture, shutter speed, and ISO, are really the fundamentals of a good exposure.
Additionally semi automatic modes like AV (aperture value) or TV (time value) leave too many stylistic decisions to a computer that I’d rather be in control of. It is for these reasons (among others) that I always capture boudoir photos in manual mode.