
Looking to create stunning DIY boudoir photography for yourself or a significant other? With a little creativity, and minimal equipment, you can capture beautiful, professional-looking boudoir photography from the comfort of your home.
Getting good images is less about expensive gear and more good technique. Follow these tips and learn the tricks I use to captures my clients boudoir photos.
Key Takeaways of DIY Boudoir Photography
- You can take stunning boudoir photos at home using natural light, a tripod, and minimal gear — professional results are absolutely possible.
- Skip the iPhone’s native camera app. Use a manual camera app like Halide, ProCamera, or Manual to lock exposure and get consistent results.
- Lighting is everything. North-facing windows and indirect light create soft, flattering shadows that are ideal for boudoir photography.
- Composition and posing are more important than expensive equipment. Use light to shape your curves, and express confidence through subtle facial cues.
- Your background should support your story. Rearranged furniture, textured fabrics, or simple window coverings can dramatically elevate your images.
- A tripod and Bluetooth remote trigger will make a huge difference. They allow you to step away from the camera and explore better angles and more natural poses.
- Don’t over-edit. If you follow this guide, you’ll only need minimal post-processing to polish your photos. Natural skin texture and subtle color adjustments go a long way.
The Basics of Capturing Your Boudoir Photography at Home

I capture at home boudoir photos for most of my clients. So if I can do it professionally, there’s no reason you can’t also capture professional looking boudoir photo shoot at home with little more than a tripod and remote trigger. You can also enlist a friend or partner to help.
Having someone else capture your photos can make things much easier because it’s pretty hard to frame the photo, pose yourself, make a cute expression and take the shot all while making sure everything’s correctly exposed and in focus.
It’s a lot for one person to do, but with patience and the right techniques, you can absolutely capture sexy selfies on your own.
The Things You’ll Need For Your DIY Boudoir Photos
Although I created this guide to show you how to do your own diy boudoir photography with as little gear as possible, there are obviously a few items you’ll need to succeed. You don’t need a professional setup, but these items will make the process way easier and improve your photos:
- Manual Camera App – The iPhone’s native app adjusts exposure automatically, which can be frustrating. A manual app lets you lock in your exposure so it’s not shifting on you while you’re trying to take your photo.
- Tripod & Remote Trigger – A tripod stabilizes your camera and gets the camera away from you for more natural perspectives. Although you can shoot with the timer, it’s way harder. Get a Bluetooth trigger for your phone to make the process way easier.
- Good Lighting – Indirect sunlight from a window provides soft, flattering light that enhances your features and is easy to work with.


How To Do DIY Boudoir Photography at Home

1. Select a Good Space For Your Photos
Choosing your background before thinking about your lighting can make things more challenging. That’s because you’ll start with the background and then have to figure out how to light your body in a flattering way. While this method is definitely doable (I use it often for my clients), for beginners, it’s much easier to start with good light and then create or enhance the background around it.
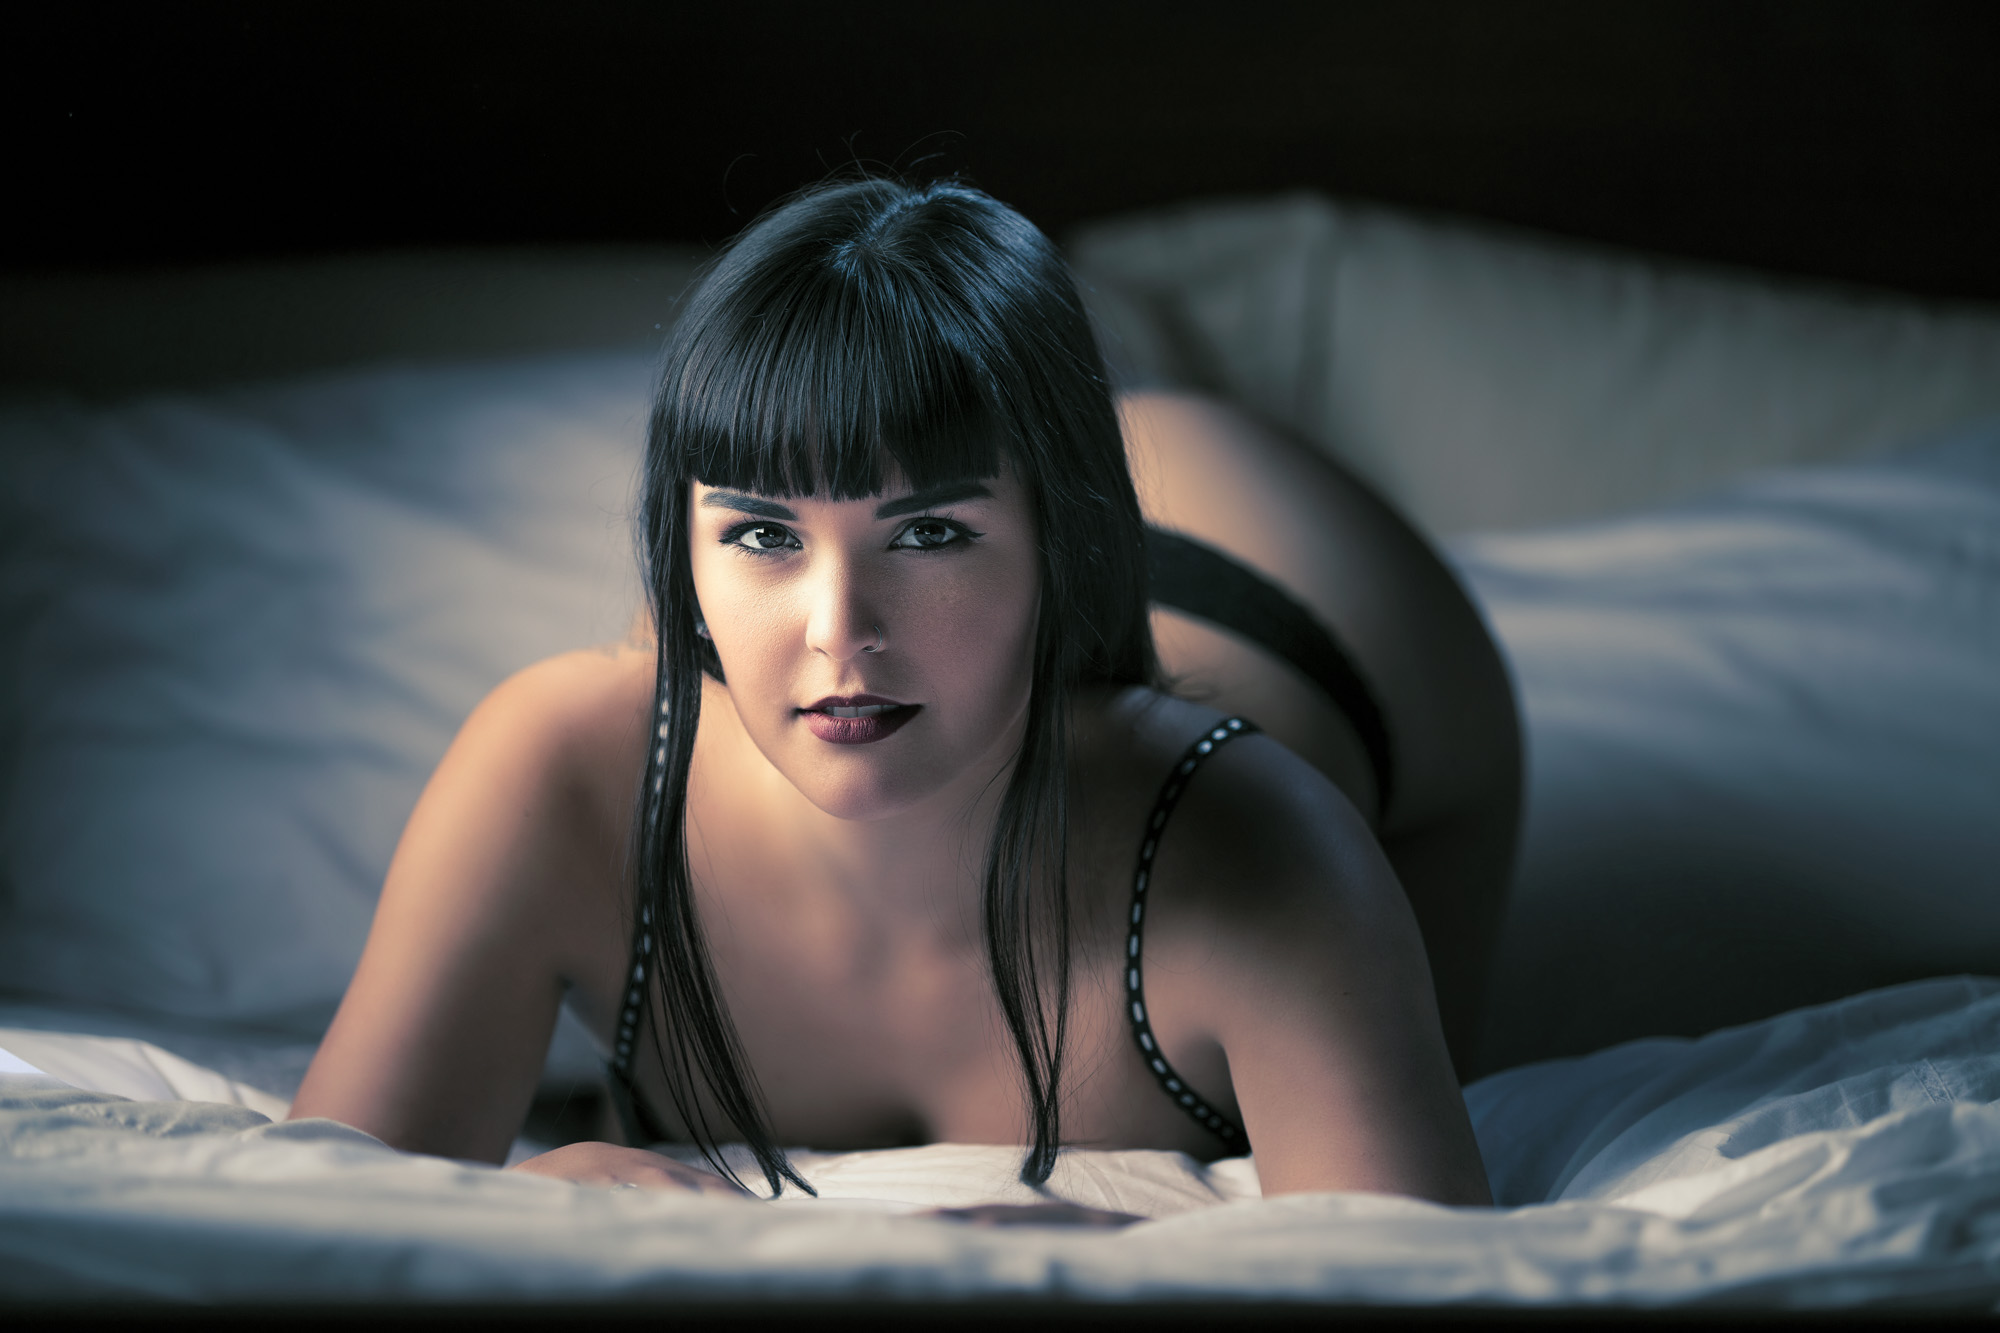
Use Window Light to Your Advantage
Natural window light is one of the best tools you have at home. You can:
- Shoot into the window for a silhouette-style boudoir photo.
- Position the window to your left or right (camera left/right) to create cross lighting. Cross lighting is one of the most flattering options for emphasizing body curves and giving your image depth.
Find or Create a Pleasing Background
Look for a north facing window that already has a visually appealing backdrop—or make one. This could be as simple as:
- Bringing in a cozy chair or textured blanket
- Rearranging furniture to create a clean, stylish space
- Using sheer or elegant window coverings to stylize the scene or soften the light.
The key benefit of this method is that you’ll capture high-quality images without needing expensive lighting equipment. Good light makes all the difference, and by enhancing the background instead of trying to build complex lighting, your job becomes a lot easier.


If the Background Still Needs Work…
If you’re not happy with how the background looks, try some of these quick improvements:
- Window coverings (like sheer curtains) offer great bang for your buck.
- String lights, lamps, or any light-emitting décor can add warmth and visual interest.
- borrow decorations from other rooms to style the area where the light is best. Rearranging a few elements can transform a plain corner into the perfect photo backdrop.
- Decorative Ideas to add interest: Throw pillows, mirrors, textured fabrics, or plants can all elevate the space.
2. Use a Manual Camera App
If you’re taking your boudoir photos with your iphone, the key feature you need is an app that locks your exposure. A manual app gives you total control over exposure, focus, and white balance, allowing greater creative freedom and less frustration. Once you find the perfect balance, lock your settings for consistency.
Allowing the camera to choose it’s own exposure without being able to lock in your exposure (like the native iphone camera app) will give you a frustrating experience with little control over how the photos will look.
3. Framing and Composition Ideas
Experiment with different crops and compositions, keeping focus on your best features.
Although the rear camera will make better quality photos, it will also make you have to photograph yourself blind. Useing the front-facing camera can help with framing if you’re getting frustrated.
For plus size women, getting the camera at or above eye level will have the most slimming effect.

4. Posing Tips For DIY Boudoir Photography
- Forget memorizing poses. First, you must define what makes a good boudoir photo to you before you can begin to create one.
- Learn how to leverage posing to enhance your curves here.
- You must pose into your lighting to use it to your advantage. Turn sideways to your window and use the shadows to highlight your curves and add depth.
- learn how to make a flirty face that will captivate your viewer here.

5. Additional Tips For Better Photos
- Use a remote trigger and a tripod (if you’re doing this yourself) to take your photos. Getting the camera more than arms reach from yourself will give you more options and creative freedom.
- Hide the trigger in your hand or trigger it out of frame with your toes or free hand. Get creative so it doesn’t show in the shot.
- Capture multiple shots in the same pose to increase your chances of getting flattering expressions. Delete the ones you don’t like later.
Editing Your Boudoir Photos

Your photos should already look great, but editing can enhance them further. Use your editing app of choice (I use Lightroom and Photoshop) to adjust brightness, contrast, and color tones subtly. Avoid over-editing—natural skin texture is always more appealing than excessive smoothing. You can learn more about how I edit boudoir photos here.
As good as modern editing tools are, my best advice is to not rely on them at all. If you follow the guidelines in this post about toning up for your boudoir photos, your final edits probably won’t need much (if any) editing. If you’ve prepared with grooming and styling ahead of time, your final edits may need little more than a few touch-ups.
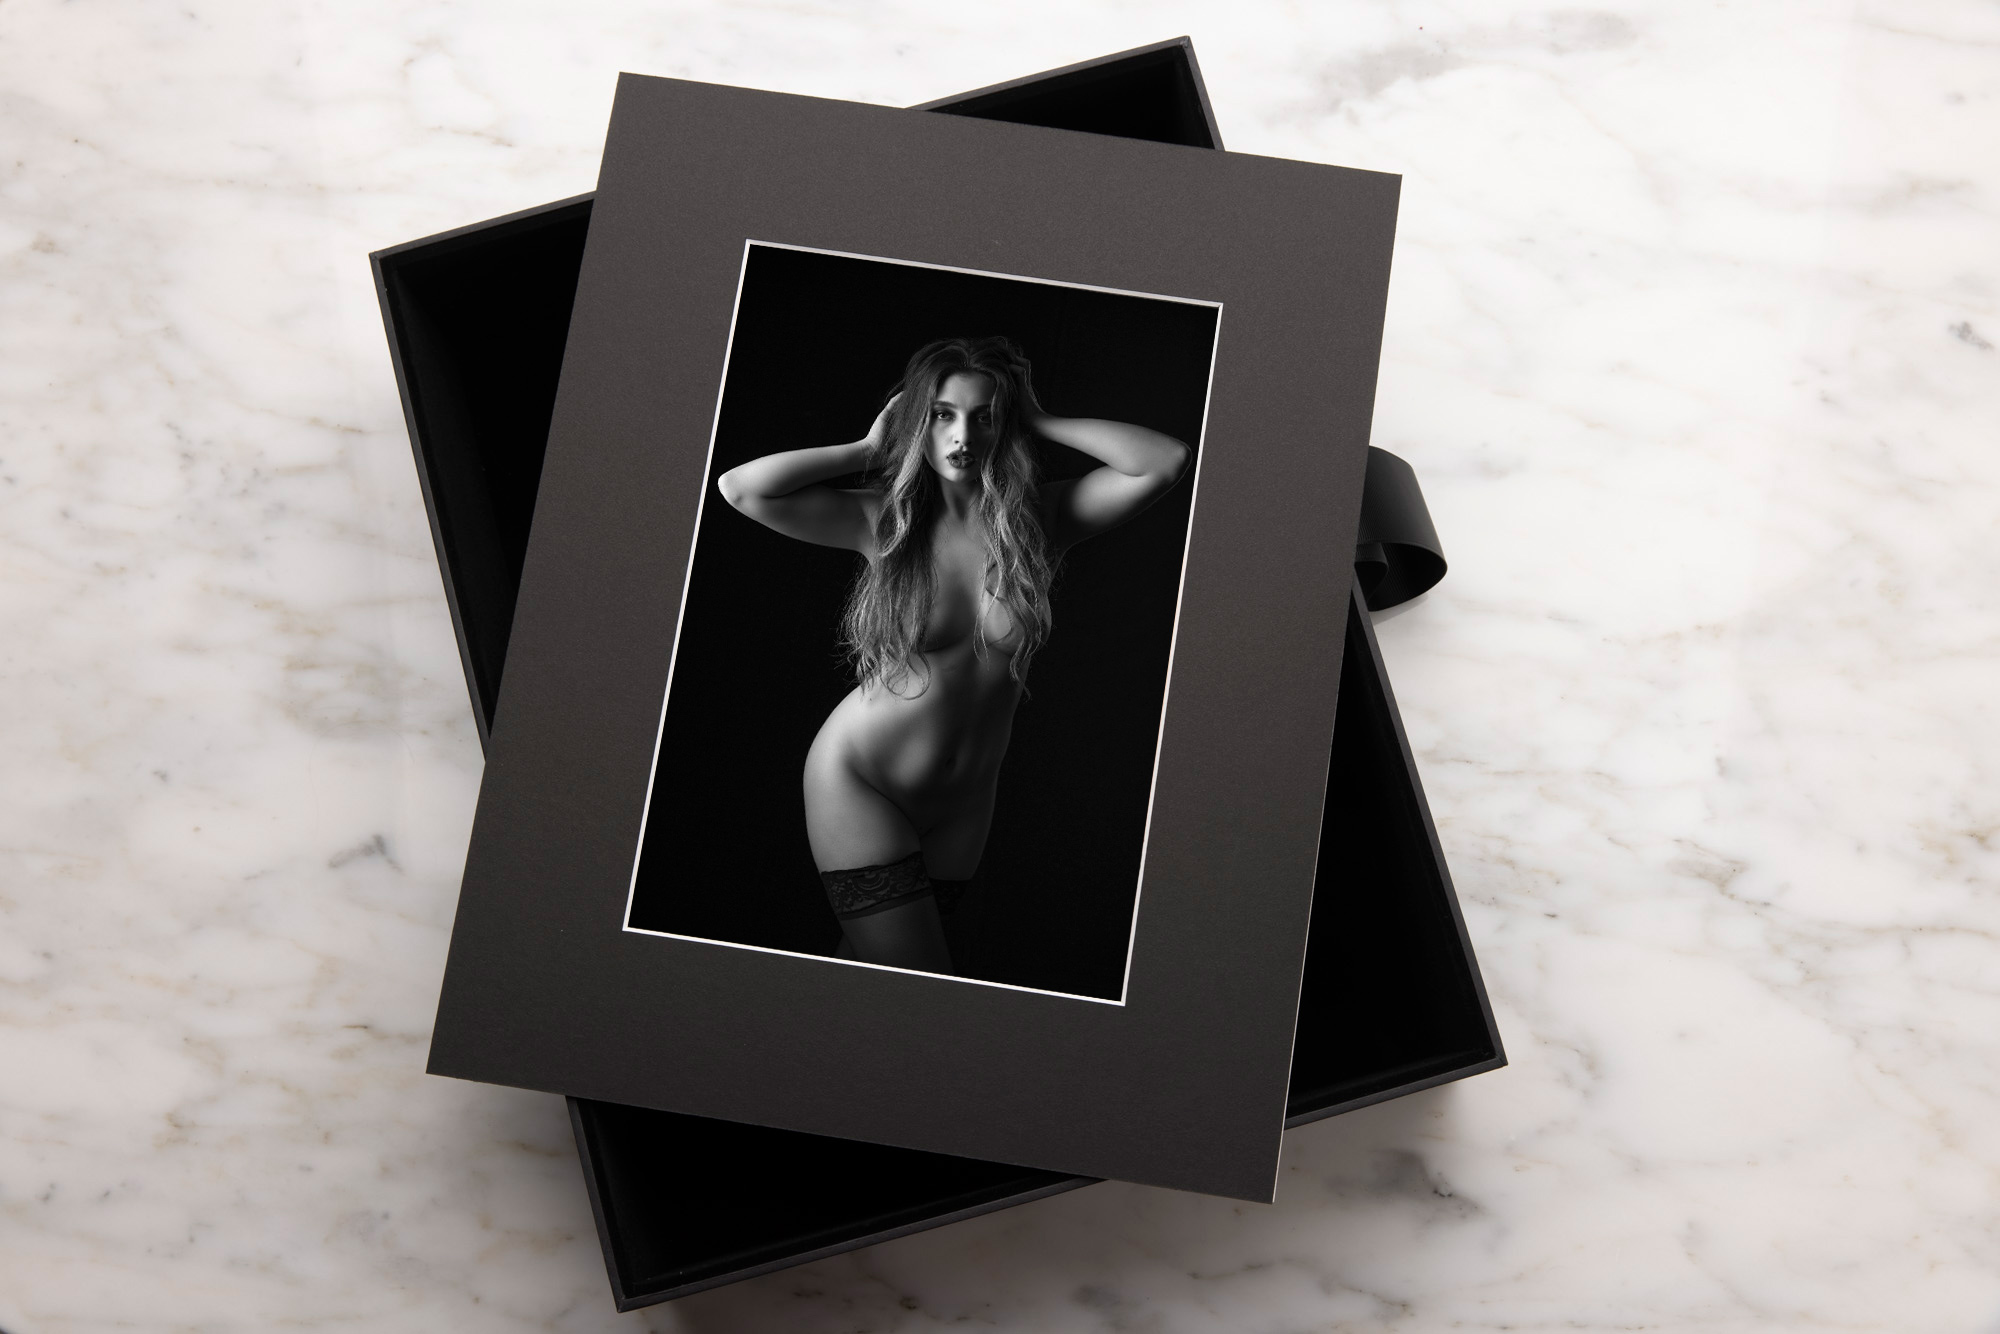
Ideas For Gifting Your Boudoir Photos
Now that you’ve got the hang of shooting boudoir at home, let’s talk about how you’ll actually give those photos. That choice can shape how you capture them in the first place.
If you’re thinking of gifting a boudoir album, you’ll want to plan for the layout as you shoot. I always capture multiple photos in each outfit to build a visual story across the spreads. The standout shots get their own feature pages. For those, I usually shoot in landscape because most albums open wide like a movie screen. Portrait shots often leave awkward empty space.
Want to switch it up? A sexy retro viewer is another cool option. When I make these for clients, sometimes we keep it simple with just the best shots. Other times, we turn it into a steamy sequence that builds a vibe.
No matter how you plan to gift your images, think about the final format before you shoot. If you’re just sending them to his phone, cool, go with what feels right. But if you want to create something unforgettable, design with the final experience in mind.


Sonoma County boudoir photographer located in Sonoma, California, with over 10 years of experience and 500+ sessions captured. Author of “Posing Women for Boudoir Photos.” View my boudoir photos and client reviews to see how my work has helped these women change the way they see themselves.